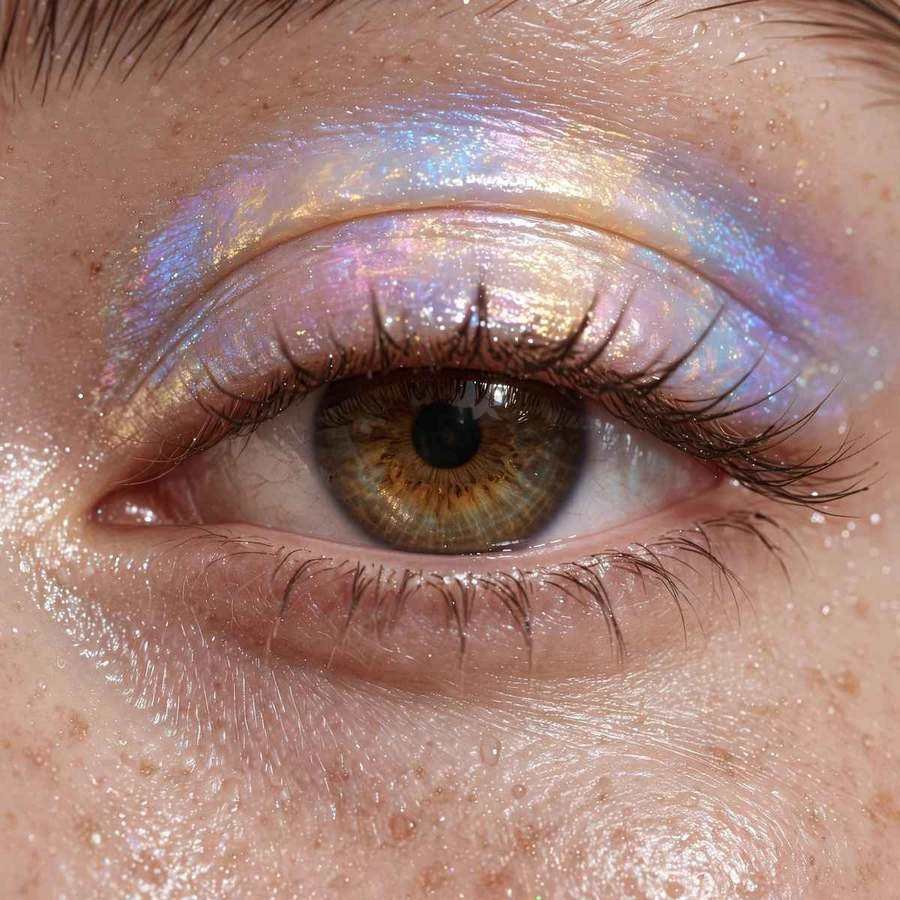
Opalescent eyeshadow is the glow that shifts when you turn your head. Built from finely milled, light-refracting pigments — pearl, moonstone, iridescent shimmer — it layers a translucent, multidimensional finish over the lid that reads as luminous rather than glittery. Unlike chunky glitter or flat frost, an opalescent shade blends smoothly and catches light at different angles, giving the eye a soft, lit-from-within radiance that looks expensive in a single sweep.
It is trending because the glazed, dewy aesthetic has moved from skin to eyes. Beauty lovers want sparkle that works in daylight, and opalescent formulas deliver: they photograph beautifully, pair with everything from nude lips to bold liner, and flatter every skin tone since the glow adapts to the surrounding light. Below are ten distinct ways to wear it, from barely-there daytime sheen to full evening opalescence.
1. The Classic Opal Lid with a Nude Lip
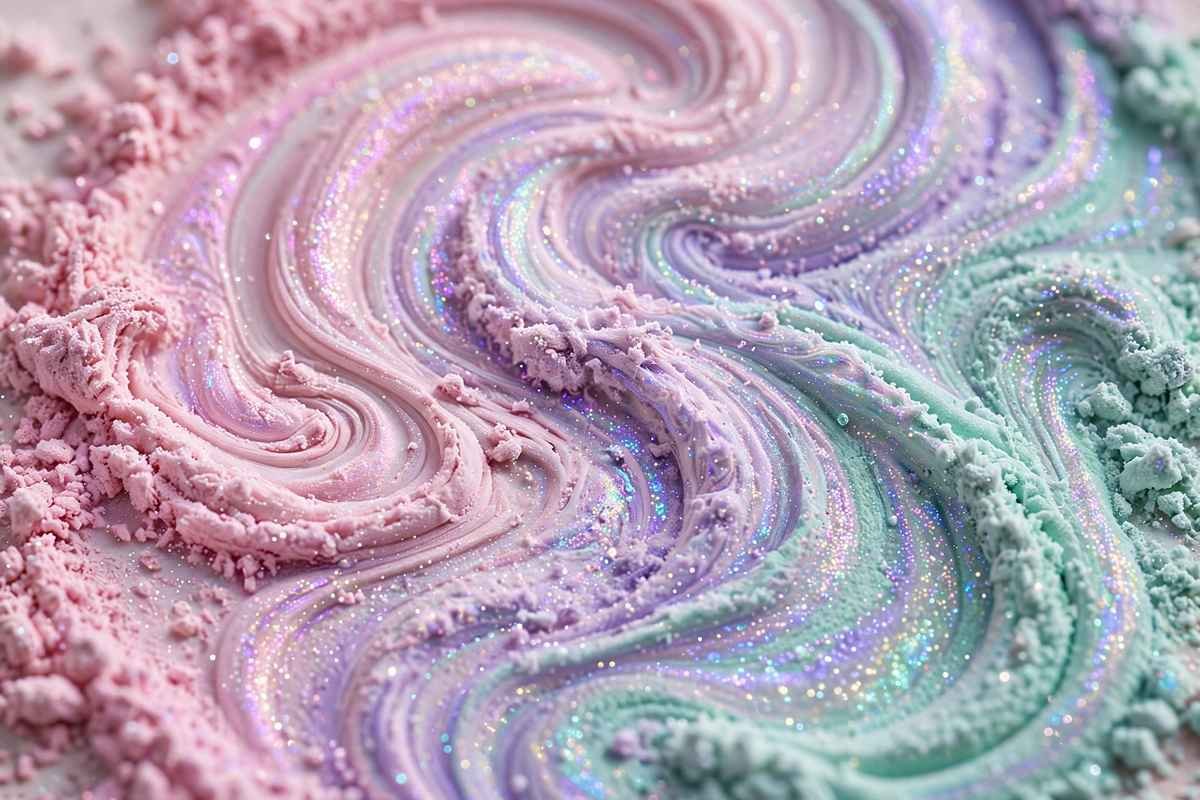
This is the look that made opalescent eyeshadow famous: a single wash of pearly, color-shifting shimmer across the whole mobile lid, softly diffused at the crease, with nothing competing for attention. The effect is clean, modern, and quietly luxe — milky iridescence on the eyes while a nude lip keeps the mood polished rather than party-ready. It works for office days and dinner dates alike because the sparkle is dimensional, not loud.
Apply over an eyeshadow primer so the shimmer adheres instead of fading by midday. Use a flat shader brush or your fingertip — fingertip warmth presses the pigment in and intensifies the shift. Blend a touch of soft brown matte through the crease for shape, then finish with two coats of mascara. Pair with nude or pink-brown lips and light blush so the eyes stay the hero. Striking on brown and hazel eyes, but flattering on all eye colors.
2. Iridescent Lavender Wash
Lavender is opalescence’s natural best friend. A cool lilac shimmer with a pink-to-blue shift creates an ethereal, dreamlike eye that feels fresh without veering into costume territory. The cool undertones brighten tired eyes and add a gentle lift, while the iridescent finish keeps the pastel from looking flat or chalky. It has a romantic, spring-evening feel — pretty, with an edge of mystery.
Choose a shade that leans periwinkle rather than true purple; the cooler the base, the more the light-play shows. Layer it over a thin veil of white or pale pink base to amplify the luminosity, or apply straight onto primed lids for a softer result. Blend edges with a fluffy brush so there are no harsh lines, and keep the lower lash line clean or add the tiniest smudge at the outer third. Gorgeous on fair to medium skin tones and lovely with a glossy lip and dewy skin.
3. Pearl Inner-Corner Glow
For a minimalist take, concentrate the opalescence exactly where light hits first: the inner corners of the eyes. A dab of pearly, slightly pink-shifting shimmer at the tear duct area instantly opens the eyes and adds a bright, awake quality without any shadow on the lid itself. It is the makeup equivalent of a good highlighter — subtle, flattering, and nearly impossible to get wrong.
Use the smallest amount — pick up pigment with a pencil brush or the tip of a dampened cotton swab and press, don’t sweep, into the inner corner. A white-pearl base suits everyone; on deeper skin, choose one with a warm golden shift so it doesn’t read ashy. This also flatters close-set eyes, since brightness at the inner corner creates the illusion of more space. Keep the rest natural: tinted moisturizer, brushed brows, and mascara only.
4. The Opalescent Smoky Eye
The smoky eye goes moonlit in this version. Instead of sooty blacks, build depth with taupe, slate, and deep plum mattes, then press an opalescent shimmer — champagne with a green-blue shift is ideal — over the lid’s center and inner third. The shimmer breaks up the darkness with moving light, so the eye looks dimensional and sultry rather than heavy. Evening makeup that still feels modern, like candlelight on velvet.
Build the smoke first: matte transition shade in the crease, a deeper matte packed at the outer corner and blended upward, then add the shimmer on bare primer so the pearl sits at full intensity. Apply with a damp flat brush for a foiled effect, keeping it away from the outer corner so the smoky gradient stays intact. A tight black liner along the upper lashes anchors the look. Deep skin tones can push the matte base richer without losing the glow.
5. Holographic Shimmer Line
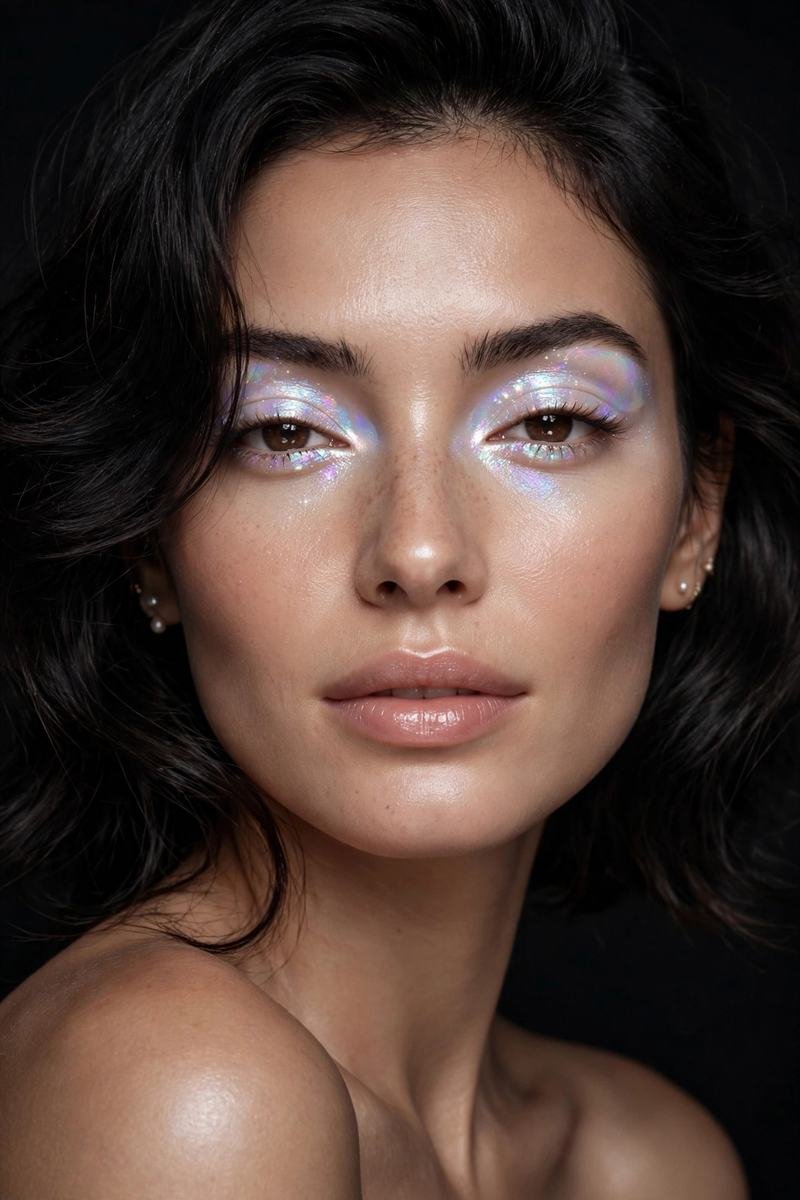
If a full shimmer lid feels like too much, draw it instead. A thin line of holographic, rainbow-shifting shadow along the upper lash line replaces traditional liner with a streak of light that flashes pink, blue, and silver as you blink. It is graphic, youthful, and surprisingly wearable, because the line is narrow and the rest of the lid stays quiet. Festival-adjacent, but dialed down to everyday-bold.
Use a finely milled powder or cream applied with a thin angled brush, or a shimmer liquid shadow with a precise applicator. Keep the line close to the lashes, slightly thicker at the outer third, with a small flick at the end for lift. Prep lids with primer so the line doesn’t migrate; set a cream version with a whisper of matching powder. Suits every eye shape — monolid and hooded eyes benefit since the line stays visible with eyes open. Balance with a bare lid and a bold or nude lip.
6. Opal Sheen with a Winged Liner
A study in contrast: soft, pearly light across the lid against one crisp, inky black wing. The opalescent sheen keeps the lid luminous and soft-focused while the wing adds structure and drama, so the eye looks both dreamy and defined. It reads effortless in photos but relies on that sharp liner to give the glow somewhere to land. Timeless with a twist.
Do the shimmer first — champagne-opal pressed across the lid with a fingertip, blended softly into the crease — and the wing last, so fallout doesn’t ruin a clean line. Draw the wing with liquid or gel liner; black gives maximum contrast, deep brown keeps it softer for daytime. Tightline the upper waterline so there’s no skin gap between lash and liner. Add lengthening mascara rather than volumizing, since this look is about definition, not heaviness. Match the shimmer to your undertone: cool opals for cool skin, golden opals for warm.
7. Pastel Rainbow Opalescence
For the maximalists: layer several pastel opalescent shades in a gradient — peach at the inner corner melting into pink, then lavender, then a sky-blue shift at the outer edge. Each shade shares the same pearly, light-refracting finish, so instead of separate blocks of color, the lid reads as one continuous rainbow caught in mother-of-pearl. Whimsical, artistic, and genuinely striking — editorial makeup you can actually wear to a concert or party.
Mist a flat brush with setting spray for each shade so the pigments melt together at the boundaries. Keep layers sheer and blend each shade into the next before adding the next; the magic is in the transitions. Use a white base underneath to keep pastels luminous rather than muddy. Keep brows groomed, skin fresh, and lips simple — a clear gloss lets the eyes be the whole story. Photographs beautifully and is especially fun on deeper skin tones, where the iridescence contrasts vividly.
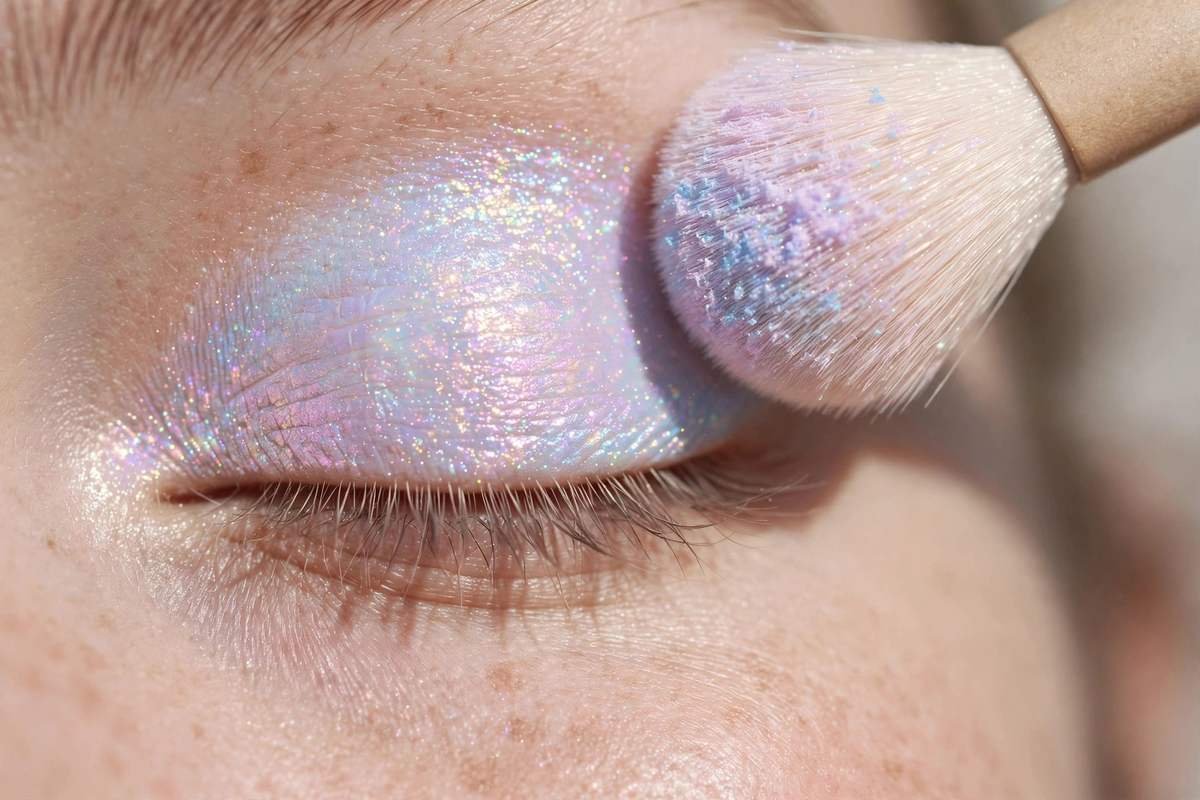
8. The Dewy Daytime Opalescent Lid
The most wearable entry here: a sheer, glassy wash of opal shimmer that looks like morning light on skin. The lid takes on a wet, luminous quality with barely any visible color — just a translucent glow that makes eyes look rested and bright. It is the eye-makeup version of no-makeup makeup, and it works because opalescent pigments reflect light rather than depositing heavy pigment. Ideal for workdays and errands.
Choose a cream or liquid opalescent shadow for that dewy, skin-like finish; powders can read too dry for this effect. Dab it onto the lid’s center with your ring finger and tap the edges to blend — no brushes needed. Oily lids should prime first; otherwise a little movement is part of the dewy charm. Pair with curled lashes, a touch of mascara, groomed brows, and tinted lip balm. The safest first step into opalescent shadow if you’ve never worn shimmer.
9. Champagne-Opal Bridal Look
Bridal makeup and opalescence are made for each other. A champagne shade with a soft rose-gold shift gives the lit-from-within glow brides want in every photograph, reading as radiant rather than glittery under natural light and camera flash. It photographs as luminous light instead of visible sparkle, which flatters in close-ups and endures through tears, hugs, and hours of celebration.
Longevity is everything: use a gripping primer and build the champagne-opal shade in two thin layers rather than one thick one. Anchor it with soft brown liner smudged along the lashes — never harsh black — plus waterproof mascara. Add a warm matte shade through the crease for dimension so the shimmer has depth behind it. Match the champagne base to undertone: golden champagne for warm skin, pink-champagne for cool. Equally lovely for bridesmaids and evening formal events.
10. The Opalescent Cut-Crease Glow
The boldest look on the list: a defined cut crease where the lid is carved out with concealer and packed with intense opalescent pigment, while the crease above is sculpted in matte. The sharp boundary makes the shimmer look almost liquid — a pool of shifting light framed by precise definition. Dramatic, editorial, and unapologetically glamorous; the kind of eye that turns heads and stops thumbs.
Precision matters most here. Map the crease with a matte transition shade, carve the lid with a flat brush and concealer, then pack on the opalescent shade with a damp brush for foiled intensity. Clean up the cut line with a tiny angled brush if needed — crispness is the whole point. Choose a high-shift shade, like peach-to-teal or violet-to-blue, for maximum drama, and finish with false lashes or several coats of volumizing mascara. Best for evening events and photoshoots; hooded eyes can adapt it by raising the cut line slightly above the natural crease.
Final Thoughts
Opalescent eyeshadow earns its place in every makeup bag because it is genuinely versatile: one pan can be a sheer daytime glow, a bridal essential, or a full editorial statement depending on application. The trick across all ten looks is the same — let light do the work. Press pigment in rather than sweeping it, keep edges soft unless the look demands sharpness, and match the base undertone to your skin so the glow melts in rather than sitting on top.
If you are buying your first opalescent shade, start with a champagne or pearl with a pink shift; it is the most forgiving and suits the widest range of skin tones and occasions. Store shimmer formulas away from heat so they don’t dry out, replace creams within a year, and remember that a little primer keeps the glow exactly where you put it. Ten looks, one finish, endless light — play with it until you find yours.





Leave a Reply