

Eyeshadow on hooded eyes has a reputation for being difficult — but the truth is, it is not difficult, it is just different. The techniques that work beautifully on deep-set or prominent lids simply do not translate when a fold of skin covers your mobile lid. Instead of fighting your eye shape, you need methods designed for it. In this guide, we are breaking eyeshadow mastery for hooded eyes down into three complete methods, from the simplest everyday approach to a full evening technique. Learn all three and you will never feel limited by your eye shape again.
Before we dive in, the ground rules that apply to every method: always prime (the fold creates friction that creases unprimed shadow within hours), always check your work with eyes open and relaxed, and always place your transition color above the natural crease where it stays visible. With those three habits in place, each of the methods below becomes straightforward — and genuinely fun.
Method 1: The Above-the-Crease Blend (Everyday Mastery)
This is the foundational method every hooded-eyed person should learn first. It creates a soft, defined eye that looks polished without any visible effort.
Step 1 — Prime and set. Apply eyeshadow primer from lash line to brow bone and dust translucent powder over it. This gives you a smooth, grippy canvas.
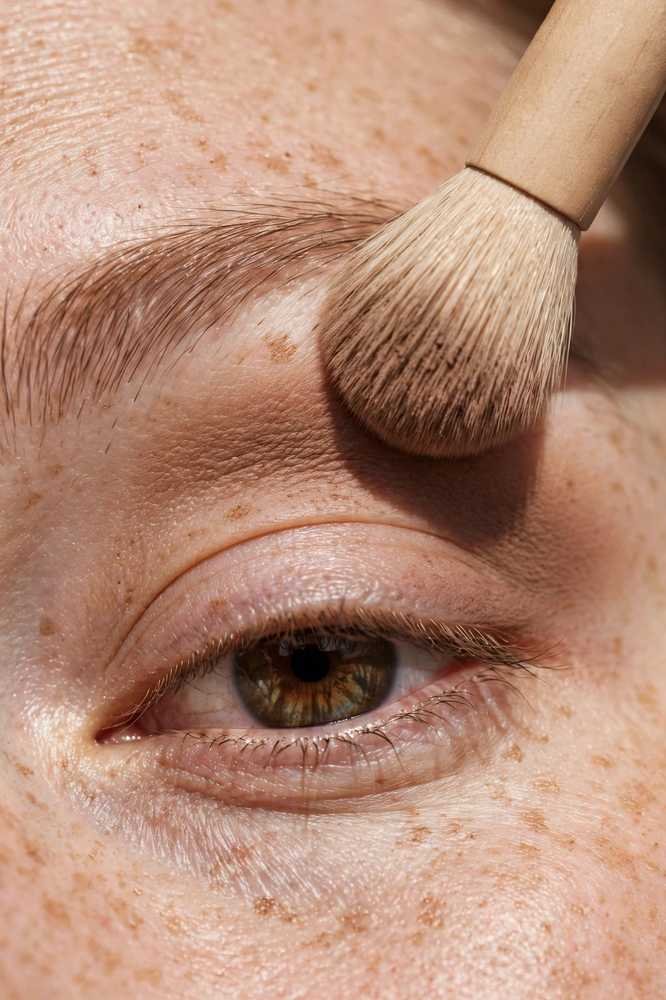
Step 2 — Lay down transition. With a large fluffy brush and a medium matte shade (warm taupe or soft brown), use windshield-wiper motions across the eye — but position the color above your natural crease, on the visible part of the hood. Keep your eyes open and build slowly until the shade is visible with a relaxed gaze.
Step 3 — Brighten the lid. Pat a light satin shade onto the mobile lid with a flat brush. This contrast between the deeper transition above and the bright lid below creates instant dimension.
Step 4 — Define and finish. Tightline the upper lashes, add a whisper of medium brown along the outer lower lash line, curl lashes, and apply mascara. Done — a complete, crease-proof everyday eye in under six minutes.
This method works because it respects the geometry of the hooded eye: color lives where the world can see it, and the lid stays bright and open. Once this feels automatic, you are ready for method two.
Method 2: The Spotlight Lid (Dimension Mastery)
The spotlight method — also called the halo eye — is how you create the illusion of a bigger, rounder lid on hooded eyes. It is the best technique for evenings and photographs.
Step 1 — Build the perimeter. After priming, apply your transition shade above the crease as in method one. Then take a deeper matte shade and work it into the inner corner, the outer corner, and along the lash line — framing the lid with depth while leaving the center bare.
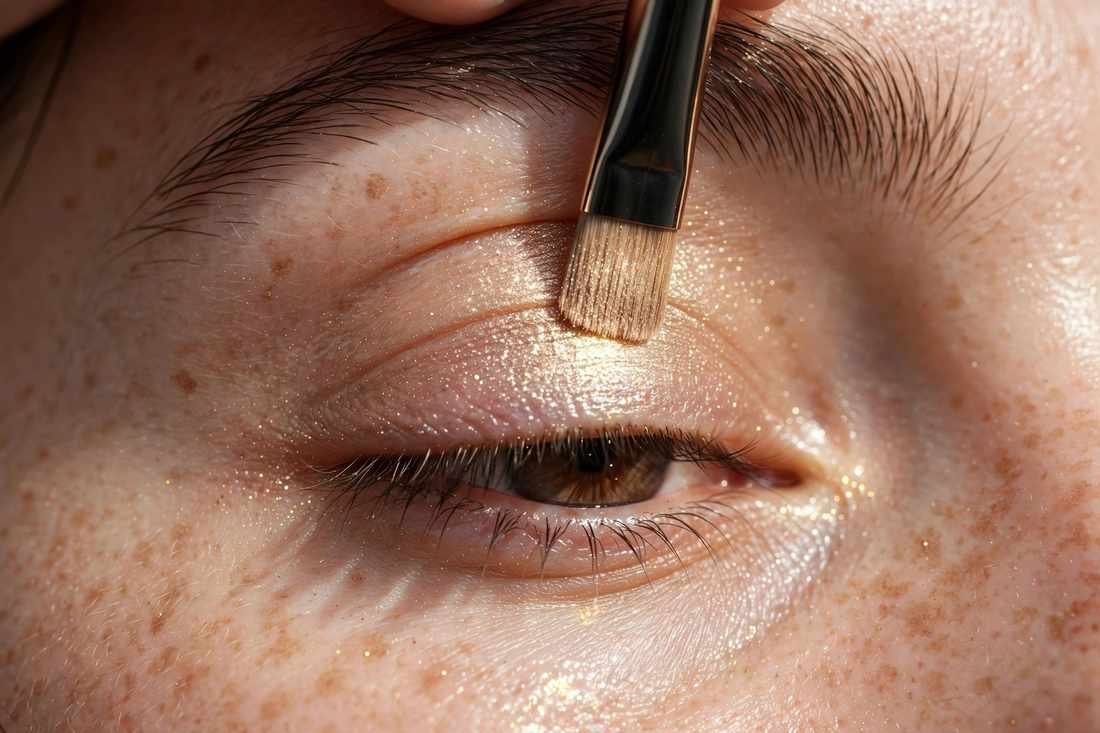
Step 2 — Place the spotlight. With a flat brush or fingertip, press a luminous light shade — champagne, pale gold, or soft rose shimmer — directly onto the center of the mobile lid. Pack it on rather than sweeping; you want real intensity in the middle.
Step 3 — Melt the edges. Take a clean fluffy brush and softly blend where the bright center meets the deeper perimeter. There should be no harsh lines — just a glowing center that fades into smoky depth on both sides.
Step 4 — Lift the outer edge. Extend the outer-corner depth slightly upward and outward in a soft wing shape, tightline, and finish with two coats of mascara concentrated on the outer lashes.
The physics of this method are simple: light advances, dark recedes. The bright center pushes the lid visually forward while the dark edges fall back, and the eye reads as larger and more dimensional. It is a genuinely transformative technique for heavy hoods.
Method 3: The Lifted Outer V (Evening Mastery)
This is the most dramatic of the three methods — a lifted, elongated eye built around a smoked outer “V.” It is perfect for nights out and events.
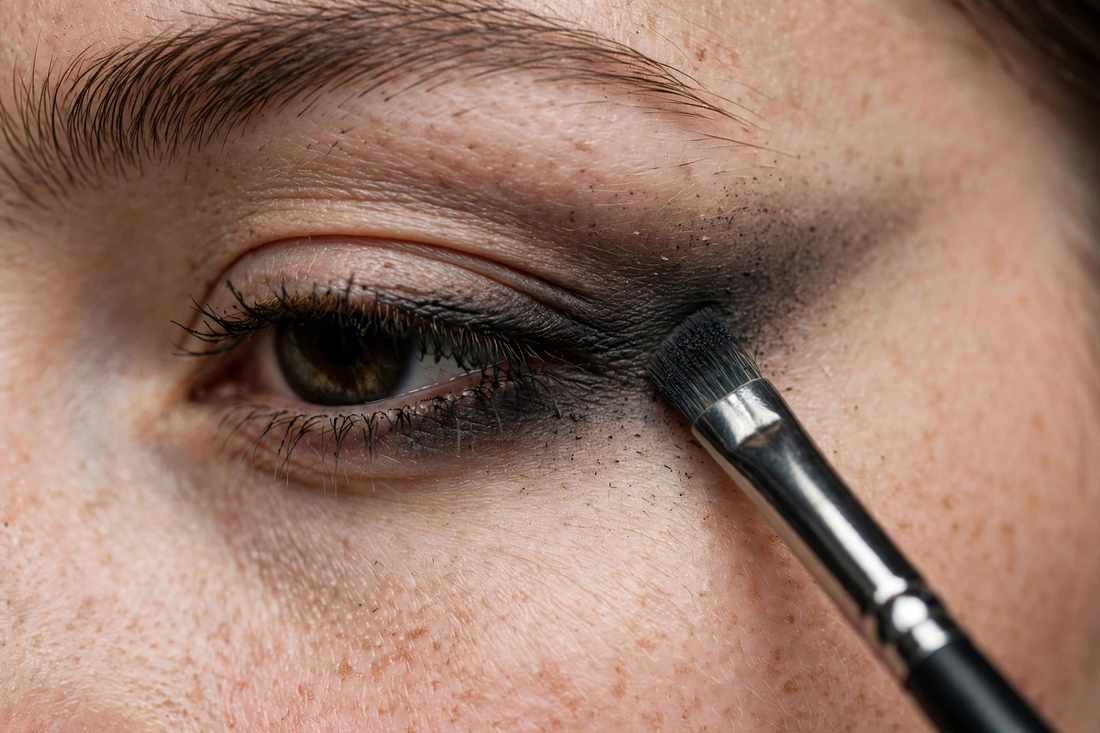
Step 1 — Map the lift. After priming, take a pencil brush and a deep matte shade (espresso, charcoal, or deep plum). Starting at the outer corner of the upper lash line, draw the color upward and outward at an angle pointing toward the tail of your brow — this angled line is the entire secret of the method.
Step 2 — Build the V. Connect that angled line back down to the outer third of the lash line, forming a sideways “V” (or check mark) at the outer corner. Fill it in and blend the edges softly with a clean brush. The V should sit mostly above the crease so it stays visible.
Step 3 — Smoke it out. Layer a medium shade over the edges of the V to diffuse it, then apply your transition shade above everything to marry the look to the brow bone. Keep the inner two-thirds of the lid bright with a light satin shade.
Step 4 — Line and lash. Tightline, then smudge a thin line of the deep shade along the upper lash line, slightly thicker at the outer corner. Curl lashes and apply mascara, emphasizing the outer corners — or add outer-corner individual falsies for maximum lift.
This method works because the upward-angled V counteracts the downward drape of the hood, literally redrawing the eye’s outer shape higher than nature placed it. The effect is a visibly lifted, elongated, evening-ready eye.
Choosing the Right Method for the Occasion
- Work / daytime: Method 1 — fast, polished, bulletproof against creasing.
- Date night / photos: Method 2 — dimensional, glowing, camera-friendly.
- Evening events: Method 3 — dramatic, lifted, high-impact.
- Beginner: Master method 1 for two weeks before attempting the others.
- Combination: Methods blend beautifully — try method 1’s transition with method 2’s spotlight center.
Conclusion
Mastering eyeshadow for hooded eyes comes down to three ideas: place color where it shows, use light to bring the lid forward, and angle everything at the outer corner upward. The above-the-crease blend gives you everyday polish, the spotlight lid gives you dimension, and the lifted outer V gives you drama. Practice each method two or three times — that is genuinely all it takes for the motions to become second nature — and you will have a complete eyeshadow wardrobe that makes your hooded eyes look like the asset they are.





Leave a Reply